Hadoop Cluster creation
Hardware Requirement
- Minimum of 3 machines to get started with installing a production cluster.
- Machines can be physical or virtual.
- Hard disk size – 100 GB or higher
- Node RAM capacity
- Name node - 16 GB or higher
- Data node - 4 GB or higher
Software Requirement
Windows
- .NET Framework of 4.5 or later
- Windows 7, Windows Server 2008 R2 or later (only 64 bit version supported)
Linux
- Ubuntu 14.04 LTS, Ubuntu 16.04 LTS (only 64 bit version supported)
On each of your hosts:
-
tar, p7zip
-
apt-get
JDK Requirements
- Open source JDK 1.7
Download Syncfusion Big Data Cluster Manager and Big Data Agent from here
Getting Started
Create Cluster – Manual mode
Step 1: Install Syncfusion Big Data Agent on all machines where each machine acts as cluster node.
Step 2: Install Syncfusion Big Data Cluster Manager in any one of the machines where we have installed Big Data Agent. It can also be installed on separate machine in the same network where all the cluster nodes are present.
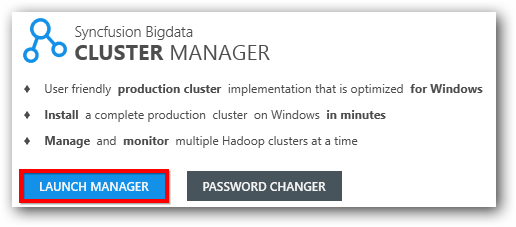
Step 3: The Cluster Manager installer will offer to run a start-up dashboard. We can also run the dashboard from a shortcut that should have been installed on desktop.
Step 4: Launch the dashboard and launch Cluster Manager.
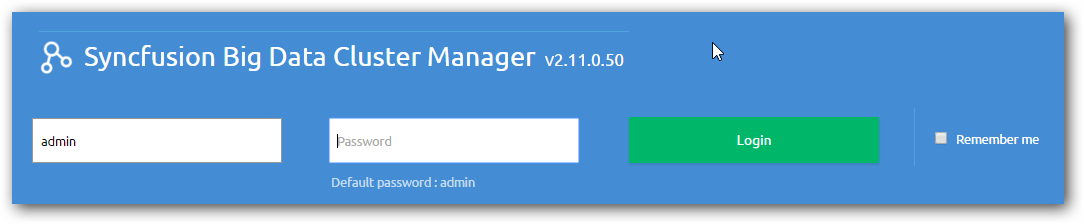
Step 5: Login into Cluster Manager. The default user name and password are admin and admin respectively.
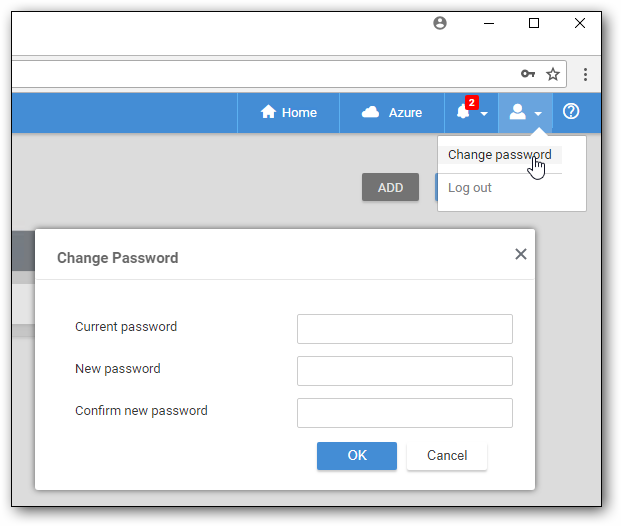
The password can be changed by using the Change Password option available in the Cluster Manager.
Step 6: Click on the Create and select Manual Mode option.
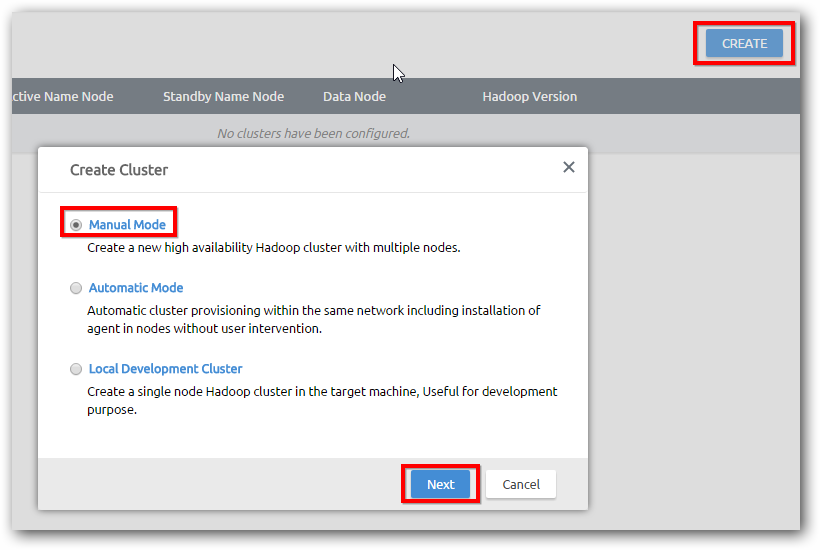
Step 7: Provide a user defined name for the cluster, replication value and IP or host name information for the following nodes.
- Active name node
- standby name node
- One or more data nodes
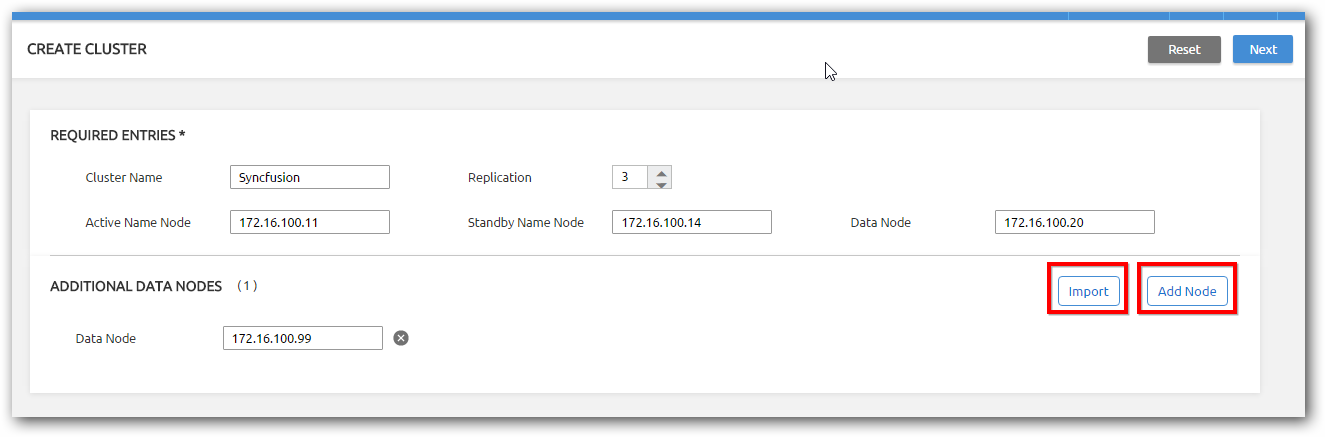
NOTE
Import option allow you to load number of data nodes information from CSV file at a time. You should maintain nodes detail in single column of IP address or host name in CSV file format.
Step 8: Click Next, the Cluster Manager will automatically do needed validations including DNS and reverse DNS validation.
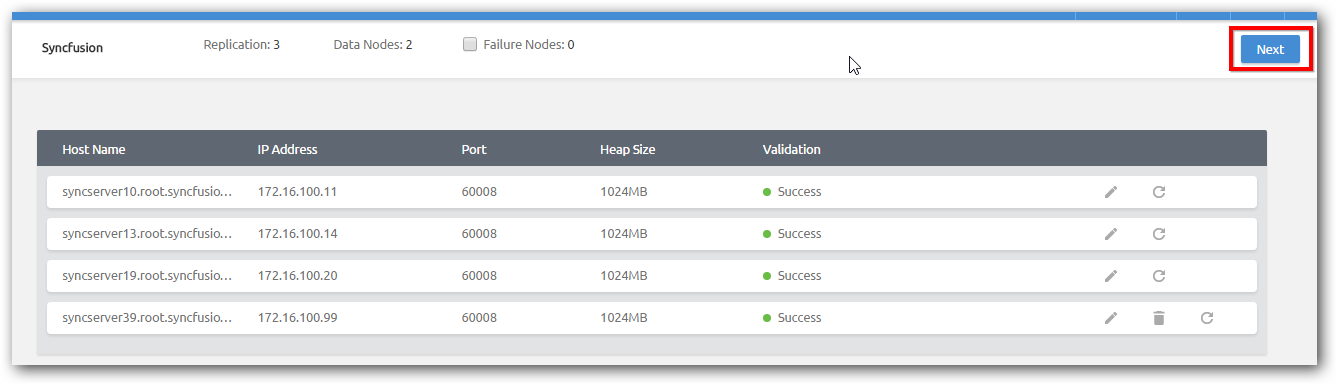
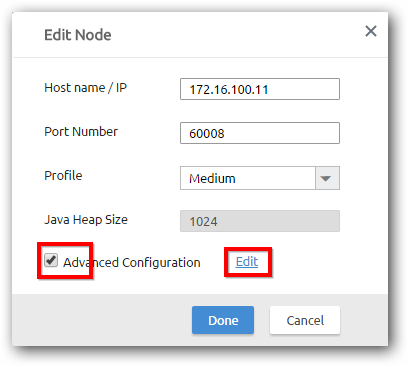
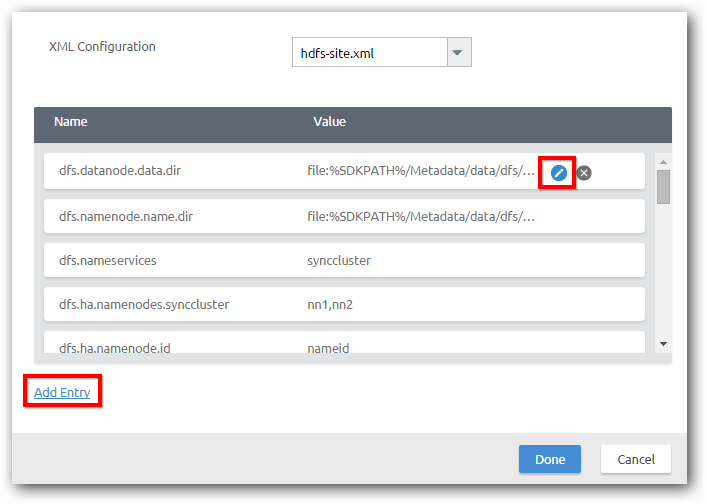
All default properties will be set for all cluster nodes, if you need to edit Hadoop configuration, use advance configuration option.

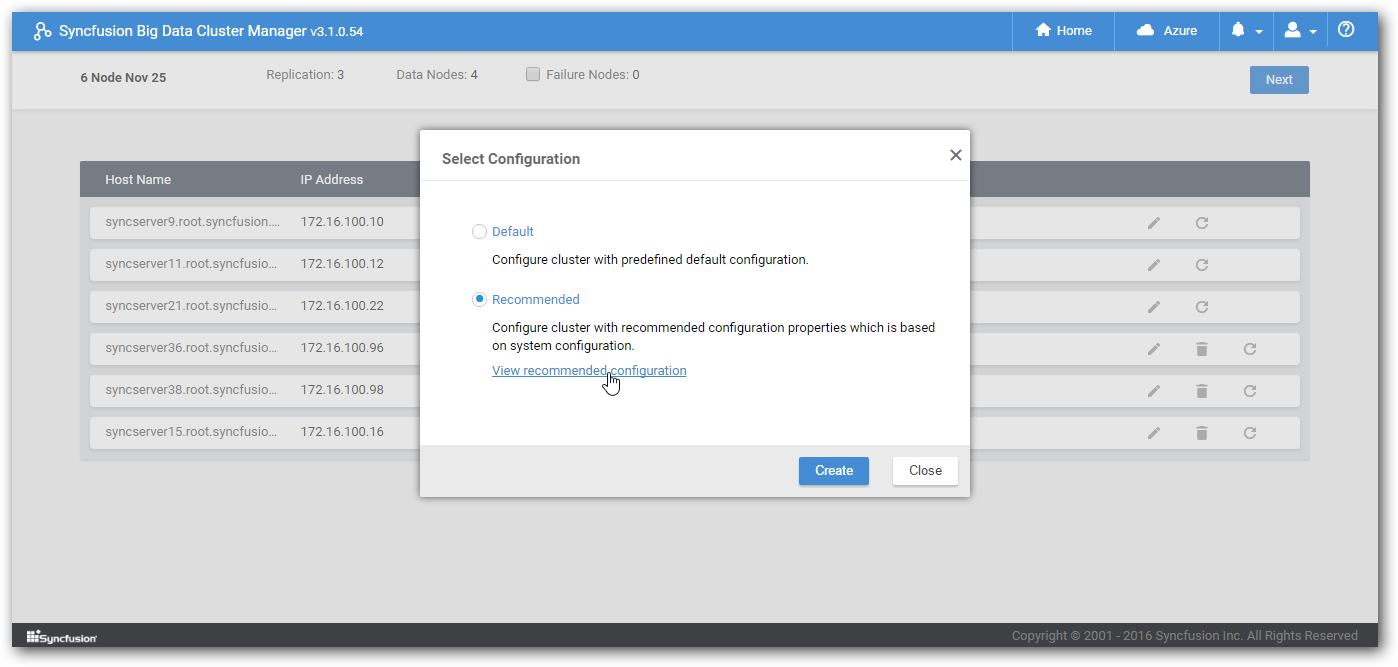
Step 9: Once validation is successful on clicking Next, configuration popup with 2 options will be showed regarding Hadoop configuration.
Default: All default properties will be set for all cluster nodes.
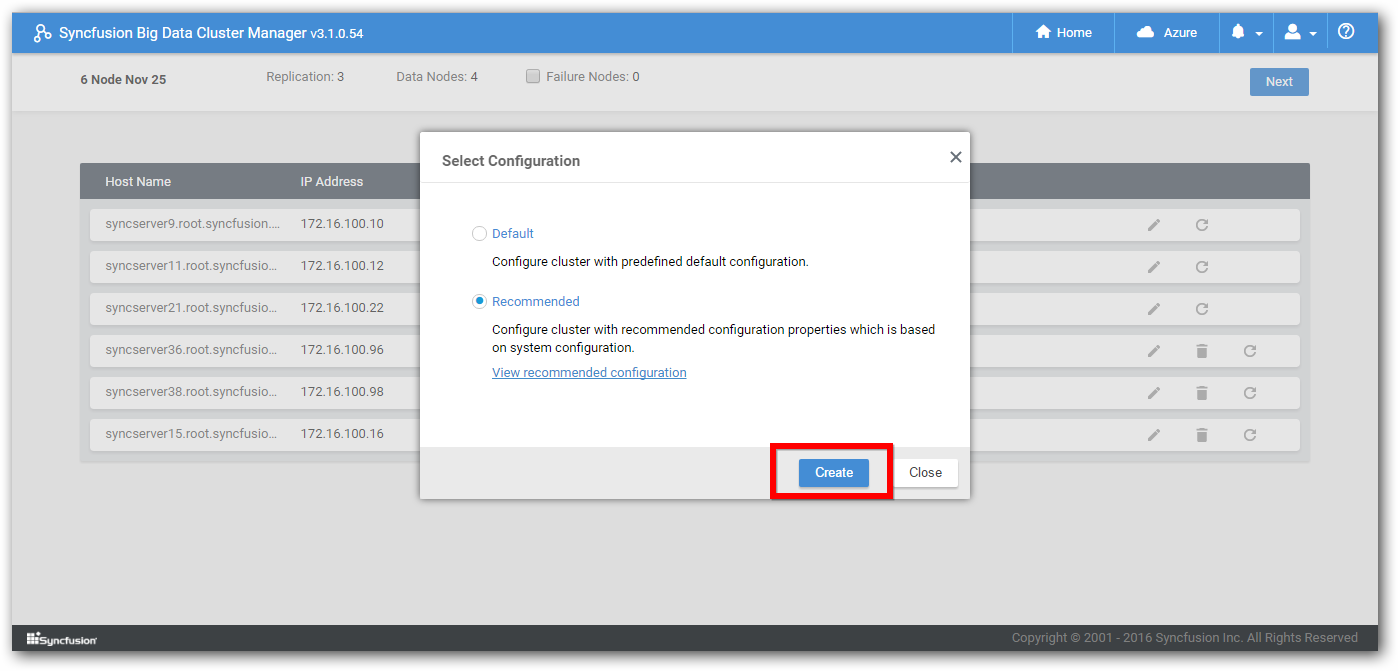
Recommended: The Cluster Manager will automatically set configuration properties based on hardware specification of nodes such as RAM capacity.
Also you can modify the recommended properties,
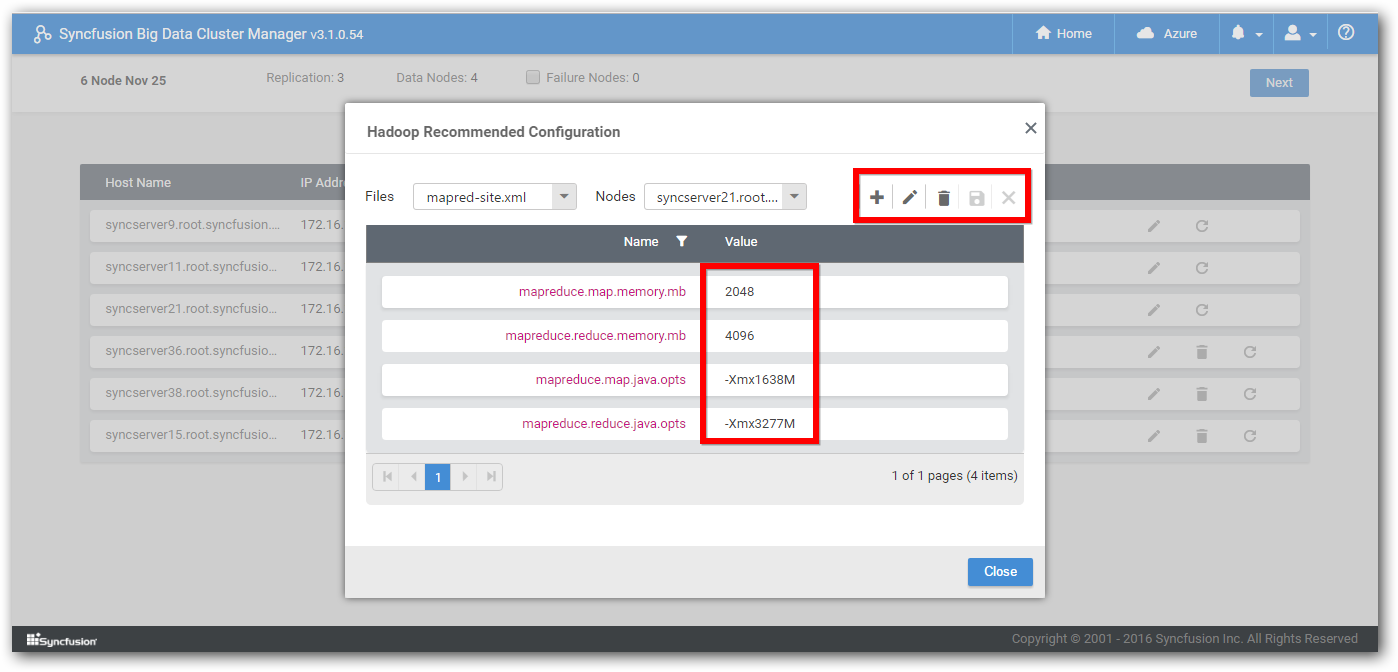
Once properties are verified, cluster creation can be started by clicking Create button.
NOTE
Cluster formation contains SDK package shipment, configuring Hadoop XML files, starting Hadoop services, uploading getting started samples and Oozie libraries into HDFS. This process will take 15-20 minutes based network capacity and number of nodes.
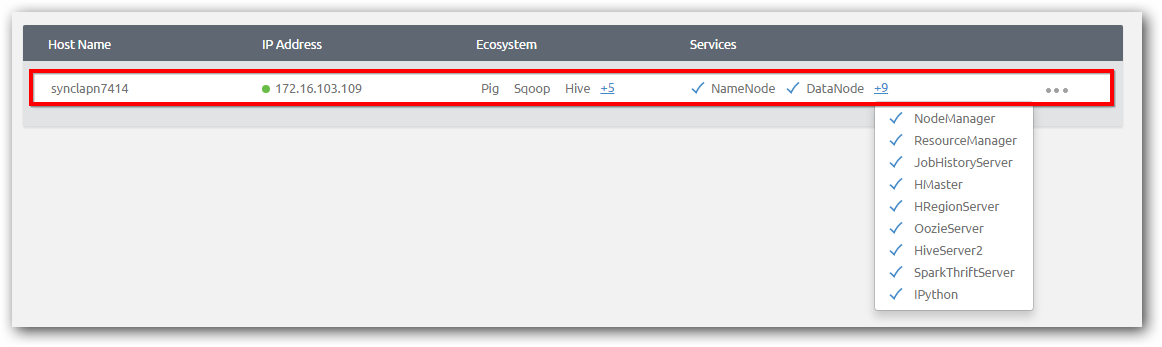
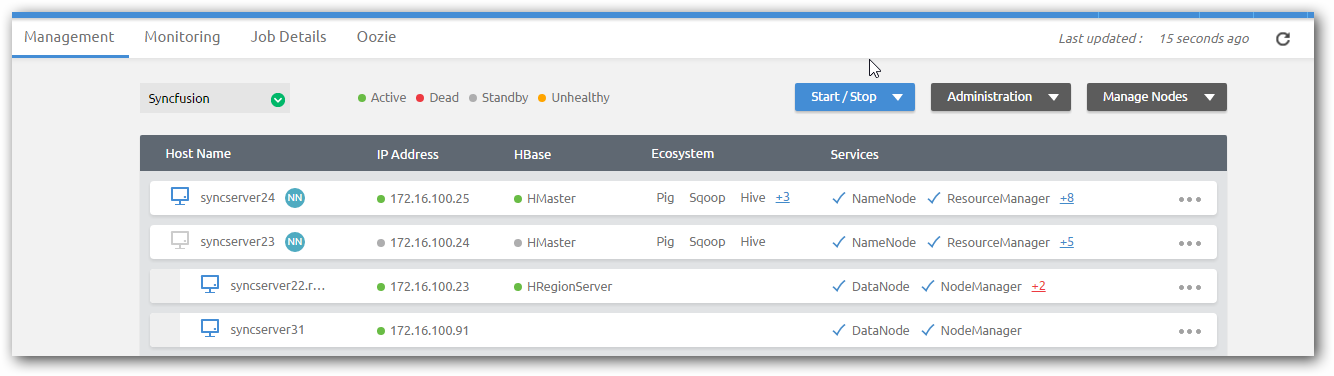
Step 10: Once everything is done, the Cluster Manager will show a running cluster.
Cluster Creation – Automatic mode
In Cluster creation manual mode, you have to install Big Data Agent in each cluster node manually. In Cluster creation - automatic mode, the Agent will be automatically installed remotely.
We have used PowerShell to install the Agent remotely so it is needed to enable PowerShell remoting and file size limit on each cluster node for one time. Run following commands in PowerShell as run as administrator.
NOTE
We does not currently support automatic mode of agent installation in Linux nodes. We will provide this support in upcoming release.
PowerShell commands
Enable-PSRemoting -SkipNetworkProfileCheck –Force
Command for receiving large file size in PowerShell
Register-PSSessionConfiguration -Name DataNoLimits –force

Set-PSSessionConfiguration -Name DataNoLimits -MaximumReceivedDataSizePerCommandMB 500 -MaximumReceivedObjectSizeMB 500 –force

Set-Item WSMan:localhost\Client\TrustedHosts *
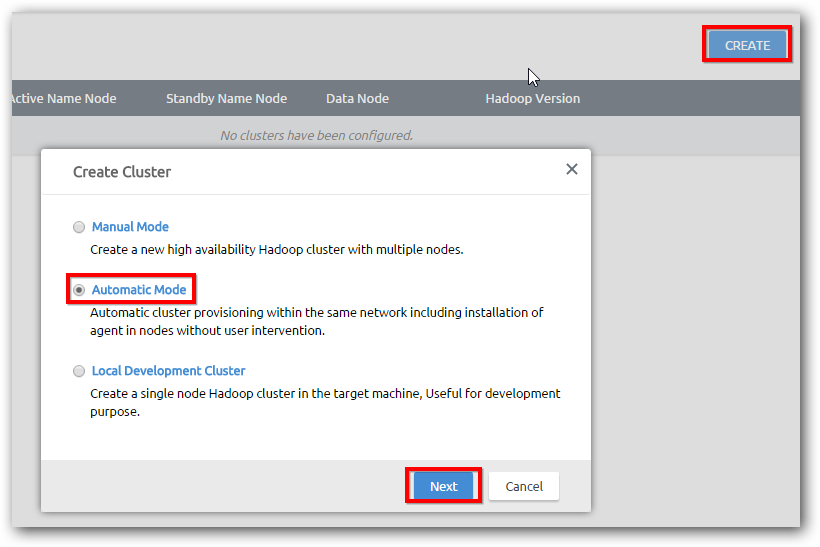
Step 1: On Cluster Manager home page, click Create Cluster and choose automatic mode.
Step 2: Provide a user defined name for the cluster, replication value and IP or host name and username and password for the machines and click NEXT to proceed as regular cluster creation.
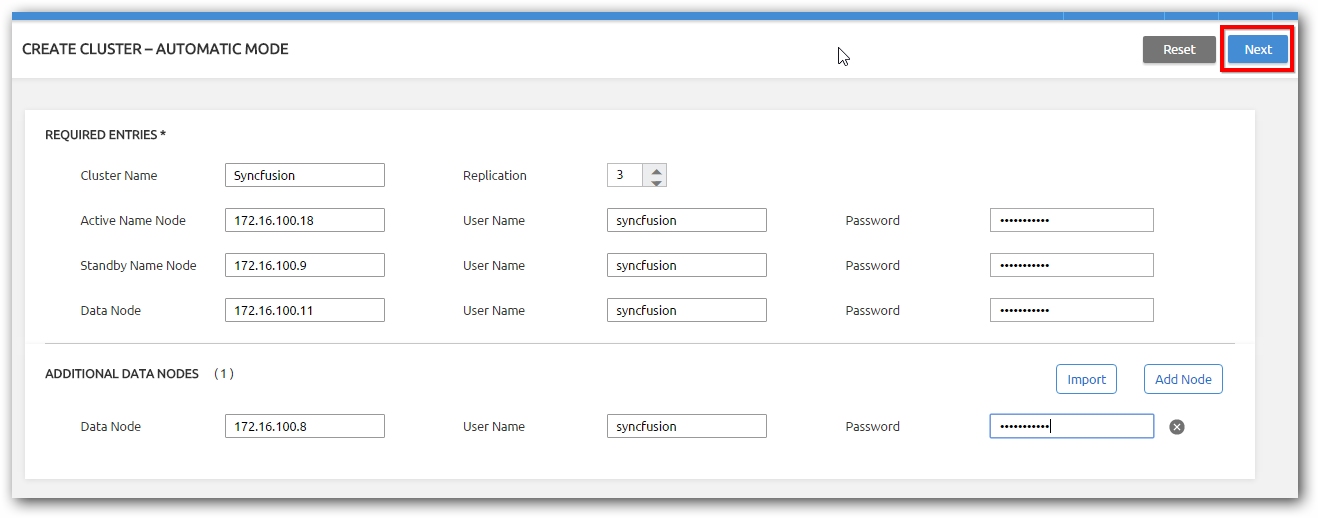
NOTE
The Agent will be automatically installed in all cluster nodes and will proceed with regular cluster creation.
Pseudo node Cluster
We can create pseudo node cluster using Cluster Manager (single node cluster). It will be useful for development purpose. For standard installation you need to have minimum 3 machines for production cluster but for development purpose you can create a pseudo node cluster using one machine.
Step 1: Install the Big Data Agent in a machine and the Cluster Manager setup in the same or separate machine of same network.
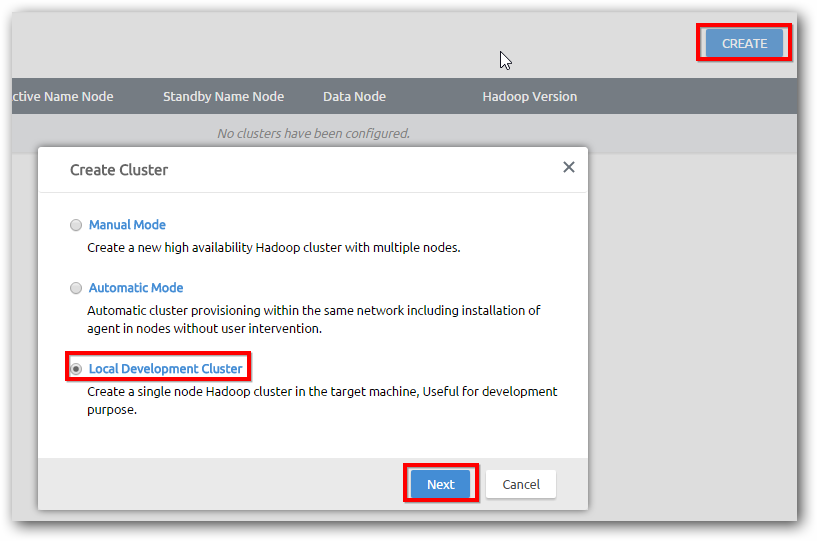
Step 2: From Cluster Manager’s home page, click Create Cluster and choose Local Development Cluster.
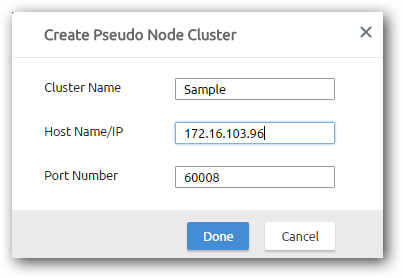
Step 3: Provide cluster name , host name or IP of the Agent installed machine , port number where the Agent service is running, by default it is 60008 and click Done to create pseudo node cluster.
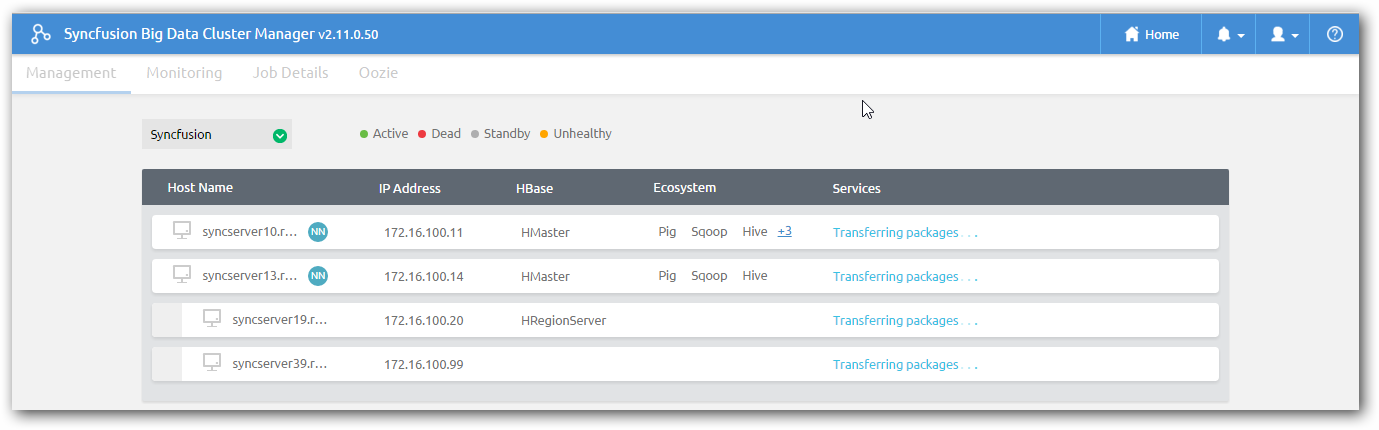
Step 4: It will start to transfer the packages, configuration and up a running Hadoop cluster.